Simple food plating drawings and layout sketches
Learn to sketch plate outlines and food arrangements with easy drawings. Plan composition before you plate a meal or lay out a picnic spread.
Contents
- Why sketch a plate before you serve it
- Tools you need for quick layout sketches
- How to draw plate outlines and guide lines
- Turning each food into a simple shape
- Composition rules that make a sketch work
- Labels and notes that keep sketches useful
- Sketching layouts for picnic platters and shared boards
- Questions about food plating sketches
- How do you draw a simple food plate step by step?
- Do I need drawing skills to sketch a plating layout?
- Should I sketch the plate from above or from the side?
- What paper works for food plating sketches?
- Can I use a plating sketch for a picnic or buffet?
- How many colors should a plating drawing have?
A simple food plating drawing is a quick sketch that shows where each food sits on a plate. You need only a circle for the plate, basic shapes for the food and a few notes. Layout sketches like these help you plan color, height and spacing before any food is cooked or served.
- Start every plating sketch with a plate outline drawn from above as a plain circle.
- Use simple shapes like ovals, triangles and dots to stand in for each food.
- Place the main item first, then add sides and sauces around it with open space.
- Label each shape with the food name and color to keep the sketch readable.
- Keep a picnic platter sketch with you when packing to match containers to the plan.
Why sketch a plate before you serve it
A food plating sketch is a planning tool that shows the layout of a dish before cooking starts. The drawing does not need artistic skill, only clear shapes in the right places. Cooks use such sketches for presentation planning, which is deciding how a dish looks when served.
Sketching a layout first saves time at the moment of plating, when food is hot and timing matters. You already know where the protein, the sides and the garnish go. A sketch also shows early whether the plate looks crowded or empty.
Plating drawings help when several people serve the same dish at a shared meal or event. Each helper can follow one picture instead of guessing from spoken instructions. A pinned sketch near the serving table keeps plates consistent from the first to the last.
Tools you need for quick layout sketches
Simple plating drawings need only paper, a pencil and an eraser to get started. Plain or grid paper both work, since grid lines help keep spacing even. A soft pencil lets you draw light guide lines and darken final shapes later.
Colored pencils or markers add a useful layer of information to a food arrangement sketch. Color shows quickly whether a plate has enough contrast between greens, browns and bright tones. A small set of colors is enough to plan the look of a dish.
Round objects make tidy plate outlines when you do not want to draw circles freehand. A cup, a jar lid or a roll of tape can serve as a stencil. Templates of plate shapes can also be printed and reused for many sketches.
How to draw plate outlines and guide lines
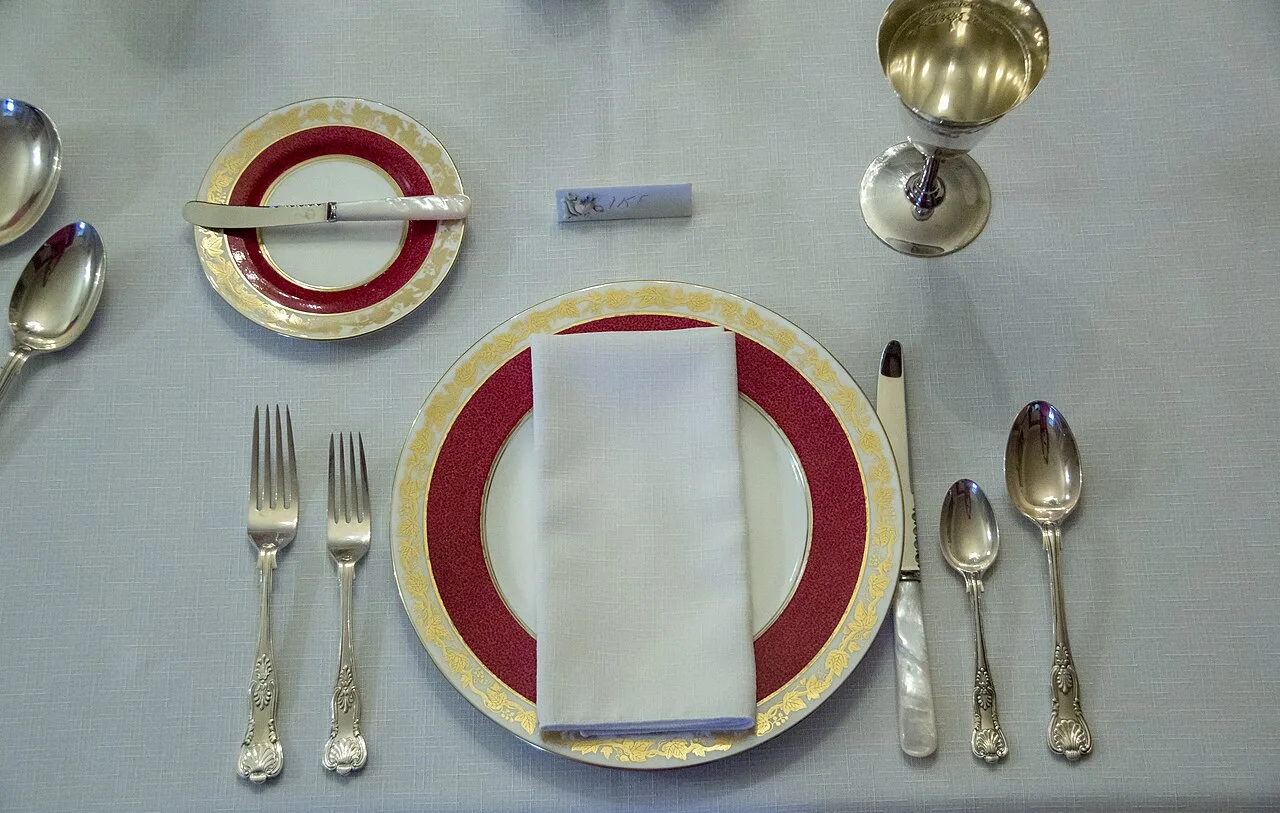
Plate outlines are easiest to draw from directly above, as a top-down view. A circle stands for a round dinner plate, while a rectangle or oval suits platters. Draw a second, smaller circle inside to mark the rim, which is the raised edge.
Light guide lines divide the plate into zones before any food shapes appear. A simple cross splits the circle into four parts for balance checks. Some cooks picture the plate as a clock face to describe where each item sits.
A side view drawing adds height information that a top-down sketch cannot show. Draw the plate as a flat line or shallow curve, then stack the food shapes on it. A side sketch helps when a dish has layers, a tall garnish or a stacked main.
- Draw the plate circle with a stencil or freehand
- Add an inner circle for the rim
- Sketch light guide lines to split the plate into zones
- Mark the spot for the main item
- Add sides, sauce and garnish shapes
- Label each shape and darken the final lines
Turning each food into a simple shape
An easy food plate drawing uses basic shapes as stand-ins for real food. Ovals can show a fillet or steak, while small circles show peas, berries or meatballs. Detail is not needed, since labels carry the rest of the meaning.
Texture marks give a sketch more character without slowing you down. Short dashes can suggest grains of rice, and wavy lines can suggest leafy greens. A loose zigzag works for a drizzle of sauce across the plate.
Sauces and purees are drawn as flat shapes such as a swoosh, a pool or a row of dots. Garnish appears as tiny marks placed last, on top of or beside the main item. Keeping the shapes loose makes changes easy when the plan shifts.
| Food | Shape to draw | Detail mark |
|---|---|---|
| Steak, fish fillet or chicken breast | Oval or rounded rectangle | A few diagonal lines for grill marks |
| Rice, grains or mashed potato | Soft mound or cloud shape | Short dashes or dots |
| Salad or leafy greens | Loose cluster of curves | Wavy edges |
| Peas, berries or cherry tomatoes | Small circles | Grouped in a tight cluster |
| Sauce or puree | Swoosh, pool or dots | Shading inside the shape |
| Bread or sandwich halves | Triangles or rectangles | A line for the crust |
Composition rules that make a sketch work
Composition in plating means how food shapes are arranged across the plate to guide the eye. A sketch lets you test that arrangement before any real food is placed. The main item acts as the focal point, the spot where the eye lands first.
Odd groups of small items, such as three or five, often look more natural than even rows. Placing the main item slightly off center can make the layout feel relaxed rather than stiff. Height from a stacked or leaning item adds depth that a flat layout lacks.
Empty space on the plate, called negative space, shapes how clean the layout looks. Leave part of the rim clear so the food has a frame around it. Color contrast counts too, with bright foods placed beside pale or dark ones.
Labels and notes that keep sketches useful
Labels turn a rough plating drawing into a plan that someone else can follow. Write the food name beside each shape, with a short line pointing to it. Small arrows can show the direction of a sauce swoosh or the angle of a sliced item.
Notes in the margin record details that shapes alone cannot carry. Portion size, serving temperature and the order of plating are useful things to write down. A note such as 'sauce last, just before serving' helps avoid slips during a busy moment.
Naming each sketch makes the layout easier to find again for a future meal. Keeping sketches in a folder or notebook builds a small library of layouts. Over time you can compare versions and see which arrangements served well at the table.
Sketching layouts for picnic platters and shared boards
Picnic platters and shared boards benefit from a layout sketch as much as single plates do. A rectangle or long oval stands in for the board, tray or serving dish. Group foods into zones so guests can reach each item without crossing the whole board.
Shared food arrangement sketches can mark where dips, bowls and utensils sit among the food. Place bowls first, since they take fixed space, then fill gaps with crackers, fruit or vegetables. Keep foods that release juice away from bread or crackers to stop them going soggy.
A picnic sketch also helps with packing, because it shows which containers fit the plan. Each zone on the drawing can match one container or one section of a lunch box. At the park, the sketch makes setting out the spread quick, even with several helpers.
Questions about food plating sketches
How do you draw a simple food plate step by step?
A simple plate drawing starts with a circle for the plate and a ring for the rim. Next, add light guide lines, then place the main item shape with the sides around it. Finish by labeling each shape and darkening the lines you want to keep.
Do I need drawing skills to sketch a plating layout?
No, plating sketches need no drawing skill, since basic shapes carry the plan. A circle, a few ovals and short notes are enough to show the layout. Clarity matters more than beauty in a sketch meant for planning.
Should I sketch the plate from above or from the side?
Both views are useful in plating sketches, and each shows different information. A top-down view shows placement, spacing and color across the plate. A side view shows height and layering, which helps with stacked or tall dishes.
What paper works for food plating sketches?
Plain printer paper works for plating sketches, and grid paper helps keep spacing even. A sketchbook or notebook keeps your layouts in one place for later use. Heavier paper handles marker ink with less bleed-through to the next page.
Can I use a plating sketch for a picnic or buffet?
Yes, a layout sketch works well for picnic boards, buffets and other shared spreads. Draw the board or table as a rectangle and mark zones for each food group. Include bowls, dips and utensils to keep the spread easy to reach.
How many colors should a plating drawing have?
A small set of colors is enough for a plating drawing to show contrast. Pick shades that match the real food, such as green for herbs and brown for meat. Color helps you spot a plate that looks too pale or too uniform.